How hard is Lord of the Dance Pose?
Lord of the Dance Pose is quite complex and has a lot of variations, so this text will be a little longer just to be able to convey to you everything that is important to properly entering one of the variations of this yoga pose and thus ensure all the benefits that yoga positions carry with you. You have certainly seen this asana countless times so far in many of its variations.
You may have once wondered which of all these variations is the basic, or basic, the one from which it moves towards all the others. This is a position that belongs to the standing balancing asanas and can be practiced in the easiest option that is suitable for all exercisers, but also in the most difficult option that can only be performed by some.
What does a dancer’s yoga pose properly look like?
Since there are a large number of variations for performing this yoga pose, here I will show only the basic version, which is the easiest, and the next version, which is considered the first level from which to go into variations. All the variations, or at least the ones I can think of at the moment, will be shown in the text below.
The first position, or the position from which we move towards the Lord of the Dance Pose, and for some, the final yoga pose , is shown in the picture below. This is a yoga psoe that is done when we are just starting to practice yoga and our body does not allow us to go further. Although it seems quite simple, it is far from that, and if done correctly, it activates many muscles in our body.
From these two basic Dancers yoga pose, one later moves to more difficult variations of this yoga pose. As you can see in the picture, the differences between these two positions are not great, except that you will surely feel them in balance. In the first version, we allow the whole torso to descend to an almost parallel position with the floor, while in the second position, we try to keep the vertical position of our torso as much as possible.
You might also like: Yoga pose Handstand (Adho Mukha Vrksasana )
How do we get into Dancer Pose?
We stand in the yoga pose Mountain (Tadasana). Let’s breathe. On the exhale, we raise the right leg and grab its foot with the right hand. We raise our left arm above our heads. In the first and easiest version, we stay in this position and do not go further. With one exhale, we lift the hind leg, allowing it to pull us and bend us backwards.
We choose either to direct the torso towards the floor and the gaze towards the outstretched arm, or we will allow our chest to open strongly while our backs bend and try to keep the vertical of our torso as much as possible. In either case, we can use the wall or chair we put in front of us to keep our balance. We breathe in the position for up to 5 inhales and exhales, and with one exhale we return to the first version of the position with a lot of control, lowering the leg and working the other side.
Notes:
- All the time, we keep in mind that our hips should remain parallel and our pelvis underlined. If we did this correctly, we should feel a tightening along the entire front of the thigh.
- We try to connect the knees in the starting position, i.e., not to allow the knees of our legs to separate too much or for one knee to move forward in relation to the other.
- In order to find balance, we can, at first, hold on to the wall or chair we have placed in front of us with our free hand.
- If we can’t reach the foot with our hands, then we use a towel or some tape that we attach to the foot and thus get an extension.
- Our torso stays forward all the time. We do not allow the hind leg to pull us and open our torso to the side.
- When we get deeper into the position, we try to keep the hips parallel and don’t let the hook open to the side. It is inevitable that our hips and torsos will open to the side at the beginning of our practice, and even later, but it is important to be aware of this and try to make a parallel in the hips every time, and try to leave our torso facing forward.

How do you feel in this yoga pose?
- Our chest opens and our pectoral muscles stretch.
- The back is working and twisting. The front of the thigh, the leg that is raised, stretches intensely.
- The standing leg is fully engaged and working.
- The head is at the extension of the spine, and there is no pressure in the neck.
- The arm, which is raised or extended in front of us, is very elongated.
What does this yoga pose do for you?
- It stretches the entire front of the torso and shoulders.
- It intensely stretches the muscles of the abdomen, the thigh that is raised, as well as the back leg, on which we lean. Like other standing positions, it affects the strengthening of the whole body.
- Since it is also a balancing position, it affects balance and concentration.
You might also like: Yoga pose – Headstand (Sirsasana)
Contraindication of Lord of the Dance Pose
People who have had any back injuries should enter this position with extra caution. Everyone who have had problems with their knees need to modify their position so as not to put stress on the standing knee but also on the knee that has been raised. Also people with poor balance and low blood pressure should perform this position with the help of a wall or chair. People with shoulder injuries should not enter more advanced versions of the position.
Variations of Dancer pose
The first variation that everyone should know is the variation in the way the feet are caught in the dancer yoga pose. There are 3 ways to catch the feet in this position, but I will now mention only 2 of them, as the third way will be explained as part of the most difficult variant of this position. You choose how you will catch the foot in the lighter variants of this position, because there is no rule that can limit you here.
The basic way to catch the feet in this position is to catch them from the outside. This way of catching the feet is the easiest, and if we are more flexible, it will not allow us to straighten the leg a lot. If we want to correct it more, we will have to hold on to the lower leg or even the knee of our leg in this way.

Woman photo created by freepik – www.freepik.com
The first difficult, yet easiest variation of this position is tying the leg to the mermaid position. When we have taken the position of the dancer, we allow the raised leg to be lowered slightly and pull with the hand with which we have held the foot so far, the foot almost all the way to our torso, so that with the other hand we can grab the toes and hold them while the foot rests on the inside of the elbow of the hand that had hitherto held the foot. When we have comfortably placed the foot in the elbow, we raise the opposite hand again as much as possible, bend it and grab the palm of the other hand. If our back and shoulders are not flexible enough, our body will open strongly to the side, and that is normal to begin with, but the more we practice this position, we should try to open the opposite shoulder forward.
When we have mastered this position, it is no longer difficult for us to enter it. We can try to grab the forearm with the opposite hand, or even the upper arm of the hand holding the foot. This way, we will open up even more in the chest and get even more flexion in the back. We can direct the torso towards the floor, but we don’t have to. This rule applies to almost all variations.
In order to enter the full Dancers yoga pose, or the most difficult version of the dancer’s position, we need to learn the third way of catching our foot. This method requires exceptional flexibility in our shoulders, so we need to warm them up well before we try to do this variant. However, as for all other positions, there is a relief for this one as well, and the way in which we will reach the full position little by little. We take a strap, towel, or belt and attach it to our foot. We rotate our arm from the shoulder and bring the belt over our head. When we have done this, we try to slowly, little by little, move the palms of our hands through the belt.

Woman photo created by freepik – www.freepik.com
In most cases, the same hand will reach the foot first, and the opposite hand will be attached to the hand holding the foot. This happens due to the rotation in the hip, and over time, as we work harder on the position and straighten our hips, the other hand will reach the foot.
When that happens, then we can send the same hand to our knee to support us and push our knee higher, and allow our backs to bend even more.
The next level requires exceptional flexibility of the back and means that our raised foot touches our head.

People photo created by yanalya – www.freepik.com
When both hands can reach the foot, then we can allow our hind leg to slowly straighten and take a position that almost looks like an arch on one leg.

Image by yanalya on Freepik
If our backs are flexible enough our feet will touch our forehead.
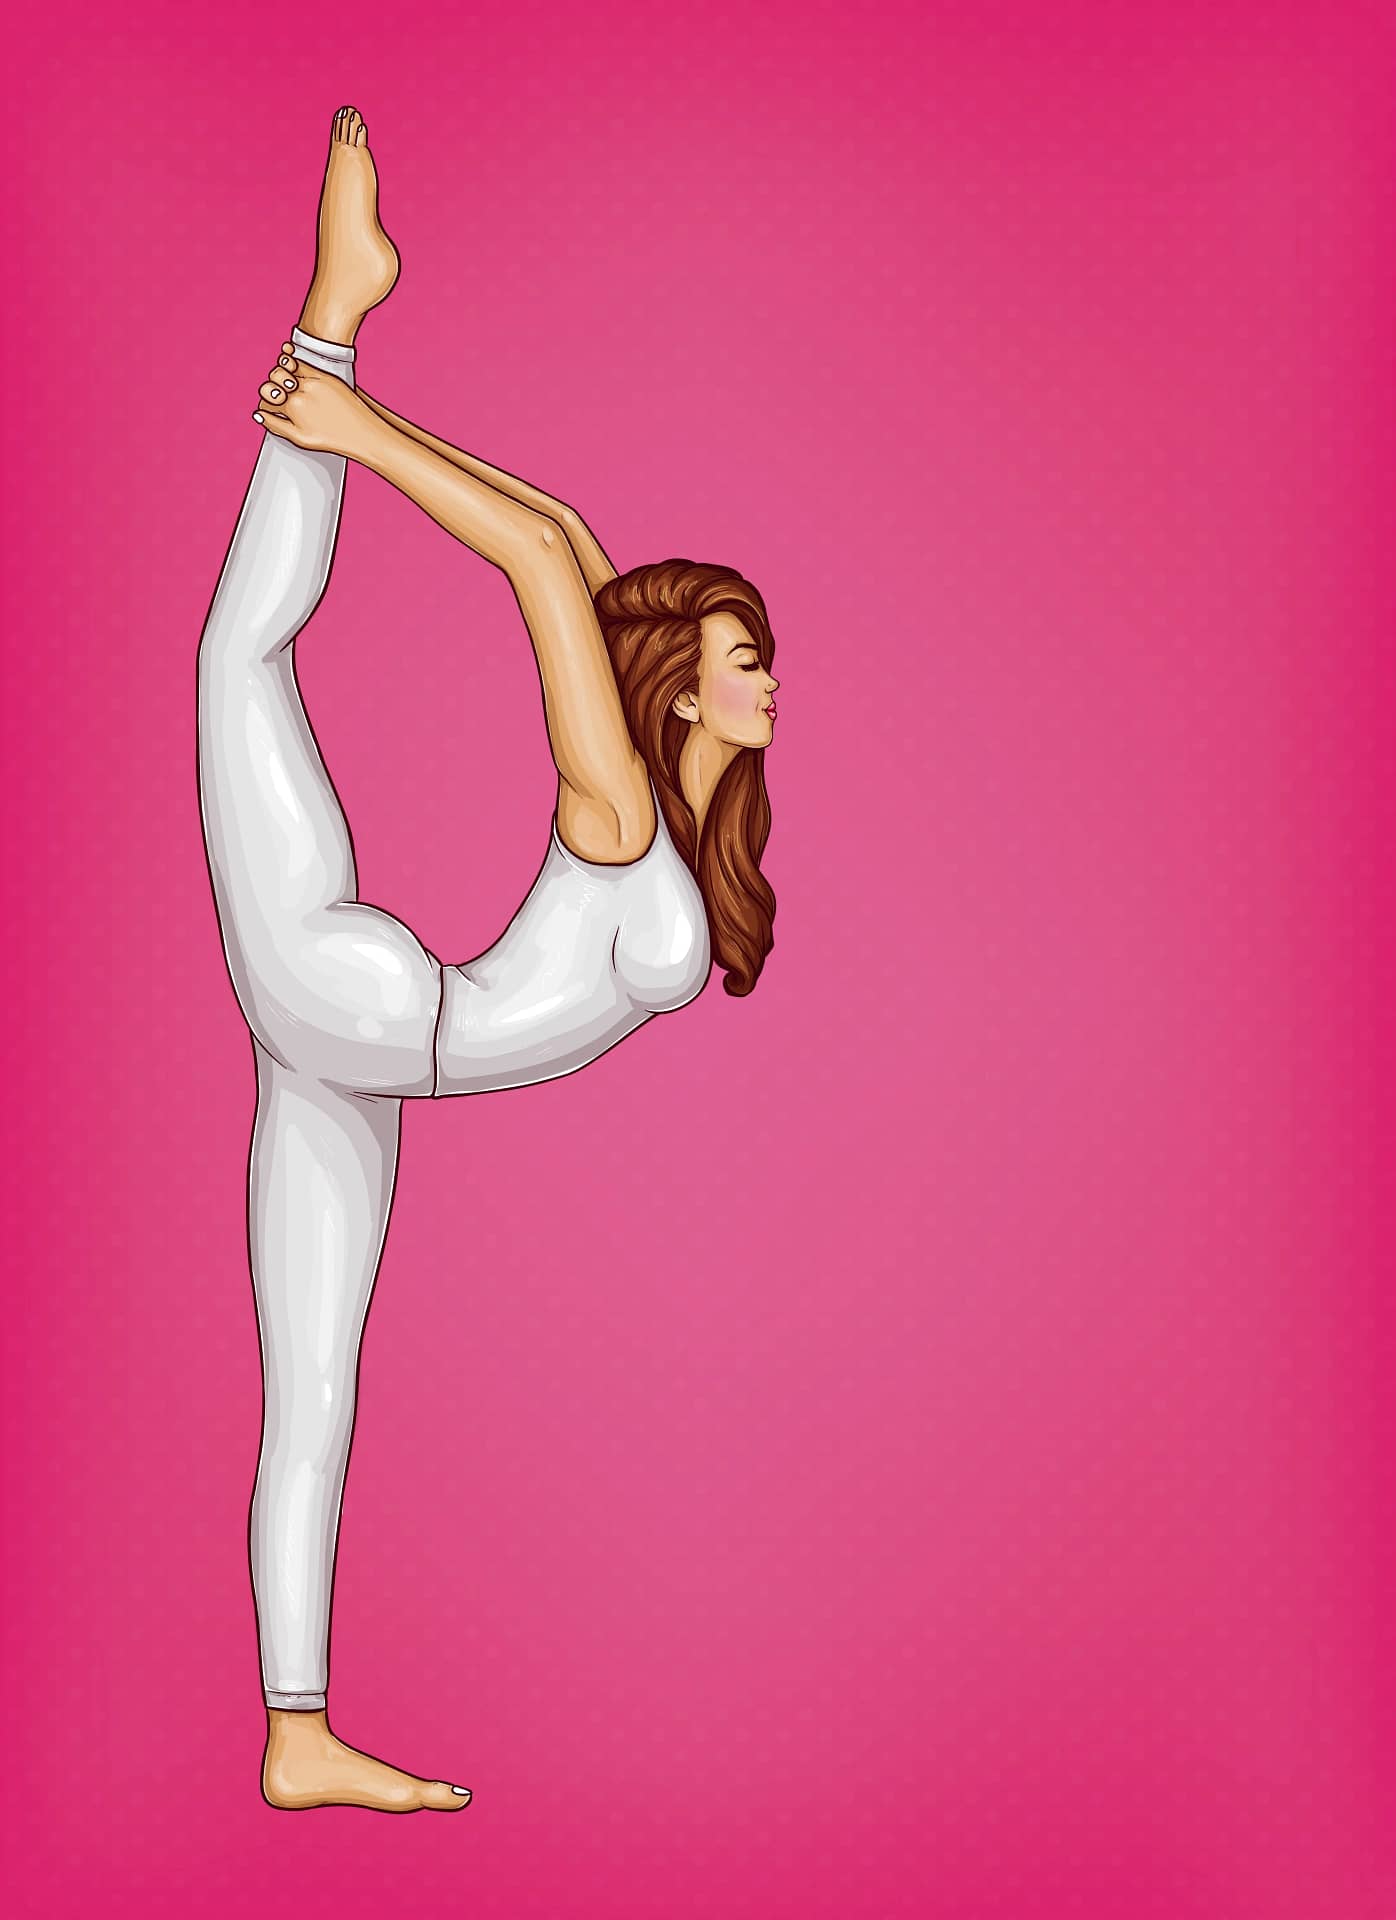
And the latest version, though not necessarily the most difficult, involves straightening the hind leg and making a woman’s full leg stretch.

Image by vectorpocket on Freepik


