Urdhva Hastasana, also known as Raised Hands Pose, is a powerful yoga pose that offers a full-body stretch and numerous benefits for the mind and body. This dynamic pose involves raising the arms overhead while maintaining proper alignment and focus.
Explanation of Urdhva Hastasana as a Full-Body Yoga Stretch
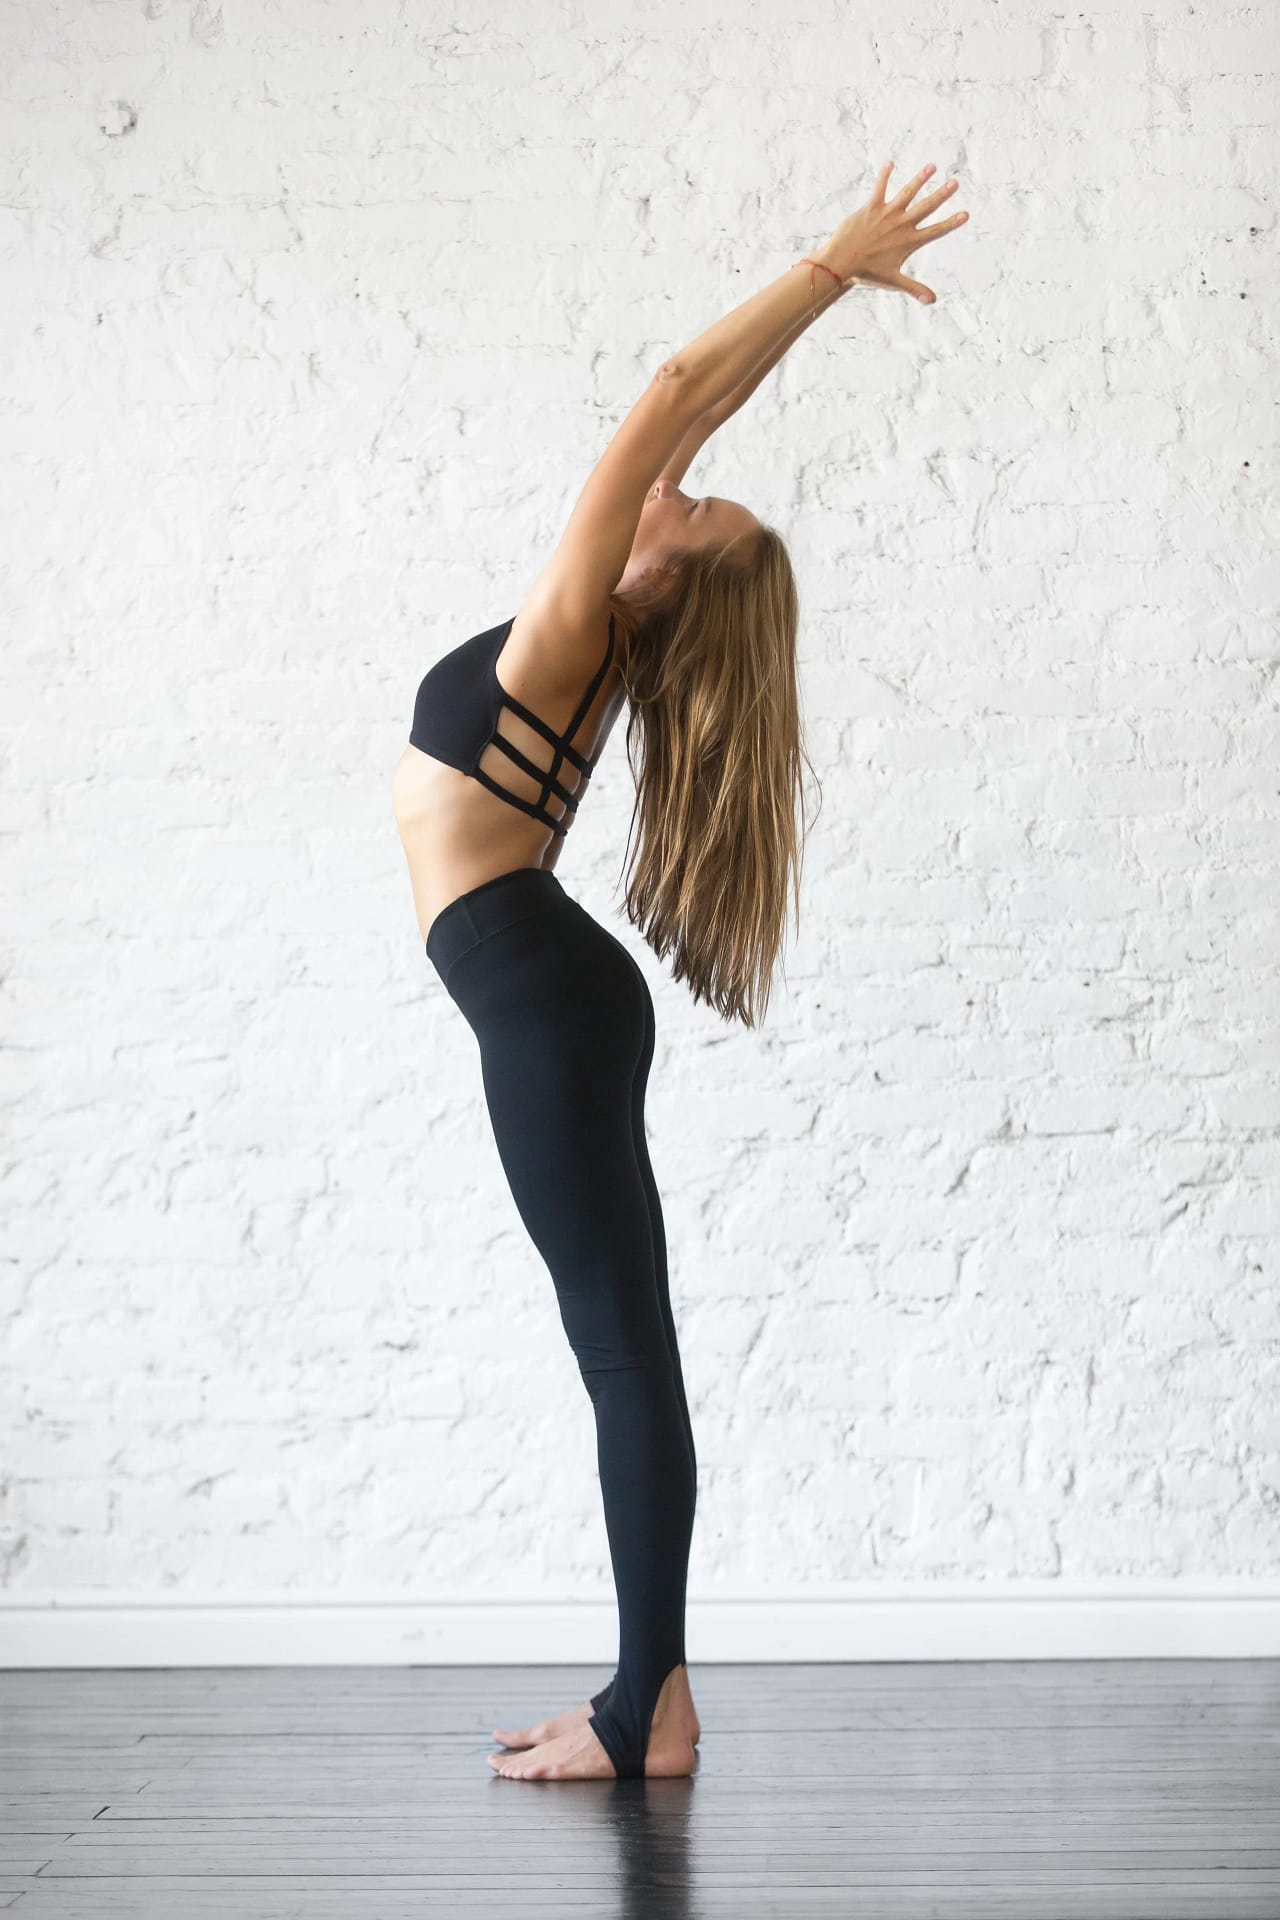
Urdhva Hastasana is a Sanskrit term that translates to “Raised Hands Pose.” Urdhva Hastasana is a yoga pose that involves raising your hands and arms upward while standing upright. It’s often called “Raised Hands Pose” because of the way your hands are positioned. This pose is great for stretching your entire body and is often included in the Sun Salutation sequence. It’s also a foundational pose in many different styles of yoga.
Urdhva Hastasana is a yoga pose that offers a complete stretch for your entire body. As you extend your arms overhead, you lengthen your spine and open your chest, which can help improve your posture and breathing. This pose also engages your core muscles and allows for the expansion of your ribcage, facilitating deep breathing and improved circulation throughout your bo
Importance of Proper Alignment and Attention to Detail in the Pose
While Urdhva Hastasana may seem simple at first glance, it’s important to pay attention to the details and maintain proper alignment to maximize its benefits and prevent injury. By focusing on alignment cues and maintaining awareness of your body, you can ensure that you perform the pose with precision and integrity. This can help you improve your strength, flexibility, and mindfulness over time.
Alignment begins from the foundation, with a strong connection to the ground through the feet. Rooting into the earth allows for stability and grounding throughout the pose. From there, you’ll learn to engage the muscles of the legs, activate the core, and align the spine, shoulders, and arms.
Maintaining proper alignment not only enhances the effectiveness of Urdhva Hastasana but also reduces the risk of strain or discomfort. By paying attention to the subtleties of the pose and honoring your body’s limitations, you can experience the full benefits of this energizing and empowering yoga posture.
 1")
Image by yanalya on Freepik
Benefits of Raised Hands Pose
Urdhva Hastasana, or Raised Hands Pose, offers a range of benefits for the mind, body, and spirit. By incorporating this pose into your yoga practice, you can experience the following advantages:
1. Improved Posture
Raised Hands Pose is a yoga pose that can help improve your posture and counteract the effects of slouching or hunching. As you lift your arms overhead, you naturally lengthen your spine and open your chest, which can help you develop a taller, more aligned posture. This can contribute to overall body balance and self-confidence. By regularly practicing this pose, you can build strength in your legs and improve your flexibility and mindfulness over time.
2. Strengthening of the Legs
Urdhva Hastasana actively engages the muscles of the legs, particularly the quadriceps and calves. As you root down through your feet and lift your kneecaps, you build strength and stability in the lower body. Strong leg muscles not only support your standing poses but also aid in maintaining proper alignment throughout your yoga practice.
3. Full-Body Stretch
One of the key benefits of Raised Hands Pose is its ability to provide a comprehensive stretch for the entire body. By reaching your arms overhead and elongating your spine, you release tension in the neck, shoulders, and upper back. Additionally, this pose stretches the side body, creating space and freedom in the ribcage. The full-body stretch promotes flexibility, relieves stiffness, and enhances overall mobility.
4. Role in Preparing for Advanced Poses
Raised Hands Pose acts as a preparatory pose for more advanced yoga postures that require overhead reaching and deep spinal extension. By consistently practicing Urdhva Hastasana, you develop the strength, flexibility, and body awareness necessary for advanced backbends, inversions, and twists. This foundational pose serves as a stepping stone to unlock new possibilities in your yoga journey.
How to do Raised Hands Pose (Urdhva Hastasana)
Practicing Urdhva Hastasana, or Raised Hands Pose, involves a sequence of precise movements and alignments. Follow these step-by-step instructions to ensure you perform the pose correctly:
- Starting from Mountain Pose (Tadasana): Begin by standing tall with your feet hip-width apart and your arms relaxed by your sides. Distribute your weight evenly on both feet, grounding yourself into the mat or floor. Take a moment to find stability and establish a steady breath.
- Inhaling and raising the arms out to the sides and up toward the ceiling: On an inhalation, lift your arms out to the sides, keeping them parallel to the floor. Continue to raise them overhead, reaching toward the ceiling. Maintain a gentle, fluid motion as you lengthen through the fingertips.
- Proper hand and arm positioning: As you raise your arms, spread your fingers wide and actively engage your hands. Palms can either face each other, or you can bring them together in a prayer position above your head. Find a hand position that feels comfortable and supportive for your wrists and shoulders.
- Shoulder placement and alignment: Pay attention to your shoulder position throughout the pose. Draw your shoulder blades down and back, away from your ears, allowing the chest to open. This action creates space in the upper body and promotes healthy alignment in the shoulder joints.
- Engaging the thigh muscles and drawing up the kneecaps: Activate your thigh muscles by firming them, which helps stabilize your legs and creates a solid foundation for the pose. Draw the kneecaps upward, lifting the quadriceps and engaging the muscles around the knees. This action promotes stability and strength.
- Rooting into the feet and lifting through the crown of the head: Ground down through the soles of your feet, spreading your toes and finding stability. Simultaneously, lengthen through the crown of your head, as if there is a string gently pulling you upward. This dual action creates a sense of grounding and expansion in the body.
- Navel-to-spine engagement and maintaining a straight spine: Activate your core muscles by drawing the navel toward the spine. This engagement supports a stable and aligned spine throughout the pose. Maintain a neutral spine, avoiding excessive arching or rounding.
- Releasing the pose: To exit Raised Hands Pose, lower your arms back down to the sides of your body on an exhale. Allow your shoulders to relax, and return to Mountain Pose with a sense of ease and mindfulness.
Common Mistakes and How to Avoid Them
While practicing the Raised Hands Pose (Urdhva Hastasana), it’s essential to be aware of common mistakes that can compromise your form and prevent you from fully experiencing the benefits of the pose. By understanding these mistakes and implementing the following tips, you can refine your practice and avoid potential pitfalls:
- Locking the knees and the importance of a microbend: One common mistake is to hyperextend or lock the knees when raising the arms. Instead, maintain a slight microbend in the knees. This microbend helps to engage the leg muscles, promotes stability, and prevents strain on the knee joints.
- Hunching the shoulders and maintaining neutral shoulder position: When performing Raised Hands Pose, it’s crucial to avoid rounding or hunching the shoulders. Instead, focus on keeping your shoulders relaxed and neutral. Draw the shoulder blades down and back, allowing the chest to open and the heart to lift. This alignment ensures proper engagement of the upper body muscles and prevents unnecessary tension in the neck and shoulders.
- Wide arms versus proper alignment: Another common mistake is to extend the arms too wide in an effort to achieve a deeper stretch. However, in Raised Hands Pose, it’s important to maintain proper alignment. Keep your arms parallel to each other and in line with your ears. This alignment allows for optimal engagement of the shoulder girdle and promotes balanced muscle activation.
- Avoiding a banana back and focusing on a straight spine: It’s common for practitioners to arch the lower back excessively, creating a “banana” shape in the spine. To avoid this, engage your core muscles by drawing the navel toward the spine. Lengthen the tailbone down toward the floor while simultaneously lifting the crown of the head upward. This action helps to maintain a neutral spine, ensuring proper alignment and reducing the risk of strain or discomfort.
- Additional tips for stability and alignment: To enhance your stability and alignment in Raised Hands Pose, consider the following tips:
- Focus on grounding through your feet, evenly distributing your weight across all four corners of each foot.
- Engage your thigh muscles by gently drawing up the kneecaps. This action helps to stabilize the legs and supports proper alignment.
- Maintain a steady and even breath throughout the pose, allowing for relaxation and increased body awareness.
- Regularly check in with your body and make adjustments as needed. Listen to any signals of discomfort or strain and modify the pose accordingly.
Modifications and Variations
Raised Hands Pose (Urdhva Hastasana) is a versatile yoga pose that can be modified and varied to accommodate different individuals’ needs and skill levels.
- Modifications for individuals with neck problems or injuries: If you experience neck discomfort or have a neck injury, you can modify Raised Hands Pose by keeping your gaze forward or slightly down instead of looking up. This modification reduces strain on the neck while still allowing you to benefit from the pose’s upper body engagement and stretch.
- Wider stance for pregnant women and those with balance issues: Pregnant women and individuals with balance issues can modify Raised Hands Pose by taking a wider stance. By widening the distance between your feet, you create a more stable base of support, reducing the risk of losing balance. This modification ensures a safer practice while still enjoying the benefits of the pose.
- Using a wall for alignment and support: Practicing Raised Hands Pose with the support of a wall can be helpful for beginners or those working on their alignment. Stand with your back against a wall, allowing the wall to guide you into proper alignment. This modification provides stability and helps you develop a better understanding of the pose’s alignment requirements.
- Incorporating a block for engagement and rotation of the thighs: For individuals who struggle with engaging the thigh muscles or rotating the thighs inward, using a yoga block can be beneficial. Place a block between your thighs and gently squeeze it while performing Raised Hands Pose. This action activates the inner thigh muscles and encourages proper rotation of the thighs, enhancing the pose’s effectiveness.
- Challenging variations involving backbends: If you’re looking to advance your practice and explore deeper variations of Raised Hands Pose, you can incorporate backbends. This involves bending backward from the upper back and thoracic spine while maintaining the alignment of the rest of the body. Backbending variations of Raised Hands Pose help to strengthen the back muscles, increase flexibility, and open the chest.
Safety and Precautions
Before practicing Raised Hands Pose (Urdhva Hastasana), it’s important to be mindful of safety and take necessary precautions to prevent injuries. Here are some key points to consider:
- Caution for individuals with shoulder or neck injuries:
If you have a history of shoulder or neck injuries, it’s crucial to approach Raised Hands Pose with caution. This pose involves raising the arms overhead, which puts stress on the shoulders and neck. Consult with a qualified yoga instructor or healthcare professional to determine if this pose is suitable for your condition. They can provide modifications or alternative poses that are safe and appropriate for your specific needs. - Recognizing the difference between a stretch and pain:
While practicing Raised Hands Pose, it’s important to distinguish between a gentle stretch and pain. A stretch may create a mild sensation of tension in the muscles, but it should never be painful. If you experience sharp or intense pain during the pose, it’s a sign that you’re pushing your body beyond its limits. Respect your body’s boundaries and modify the pose or seek guidance from a professional to ensure a safe and effective practice.
FAQ PAGE about Raised Hands Pose (Urdhva Hastasana):
What are the benefits of Raised Hands Pose?
Raised Hands Pose can help improve your posture, strengthen your legs, provide a full-body stretch, and prepare you for more advanced poses.
How do I do Raised Hands Pose?
To do Raised Hands Pose, stand with your feet hip-width apart and your arms at your sides. Inhale and raise your arms overhead, keeping them straight and parallel to each other. Look up at your hands and hold the pose for several breaths.
What are some common mistakes to avoid when doing Raised Hands Pose?
Some common mistakes to avoid when doing Raised Hands Pose include hunching your shoulders, arching your back too much, and locking your elbows.
What are some modifications for Raised Hands Pose?
If you have tight shoulders or neck pain, you can modify Raised Hands Pose by keeping your hands shoulder-width apart or placing them on your hips instead of raising them overhead.